Saturday, April 28, 2012

Butterfly CAS

Hi there it's me again here to share a Eureka Stamps card with you. For this card I used a background stamp 
 58501 Butterfly Background but only colored one butterfly to give it a more CAS look. Eureka had awesome wonderful stamps you could use to achieve this look.


Friday, April 27, 2012

Ducky Spring


I sure like these little ducks, they come as single red rubber stamps from Eureka Stamps and using a stamp positioner made it easy to line them up across the card. The ducks and sentiment are also available as a digital image.

Copic markers were used to color the ducks and grass.

The clouds were created with a sponge and my hand cut template. 

The tiny flower edged ribbon was attached to the back of the card with single sided tape. 

I used the Perfect Layers tools from Perfect Paper Crafting to cut the even borders.  An EK Success corner rounder punch was used to cut the bottom corners.


Paper: unknown textured white, Beckett Expressions for image, The Paper Company – yellow, Memories Complete – designer paper


Ink: Memento – Tuxedo Black, Stampin Up – Bashful Blue

Thursday, April 26, 2012

The Purrr-fect Cat Stamps

Happy Thursday!

It's the last Thursday in April!  Wow this year is flying by!  Must have all ready been a lot of birthday's in my world because my stash of birthday cards is thinning out!

I made this card to throw in my stash.  This image, Large Cat Present, is perfect for birthday, Christmas, or any other gift giving occasion!  I used it on a birthday card here.


The sentiment can be found HERE.

Eureka Stamps has a bunch of cute cat images for you cat lovers out there! 

Here's a look at this same image used on a Christmas card.
For this one I used Meowy Christmas!
I colored both images with Copic Markers

Thanks for stopping by today!

Kristine

Country Brunch Invitation? Possibly.

When I started this card, I had no idea where I was going with it.
I stamped the "Large Jar and Apples" (#23105) from QKR Stampede onto water color paper and colored with water color crayons. I loved the image and how it turned out, but couldn't decide what kind of card to make with it.
One of my friends, Cheryl, suggested that it would make a cute invitation to a country brunch. I liked that direction, so it's the direction I took.
I had bought the checked paper specifically to use on some cards and it seemed to go well with the country idea and the image.
When my son, one of my trusted critics, saw it, he thought it looked like a "Grandma card"
Either way, country or Grandma, I love how it turned out.
What do you think? Leave a comment and let me know.

QKR Stampede has many images that would work great for invitations or for a "Grandma card" available in unmounted red rubber or digital.
Thanks for stopping by today. I hope you'll come again soon.

Wednesday, April 25, 2012

Baby Love...

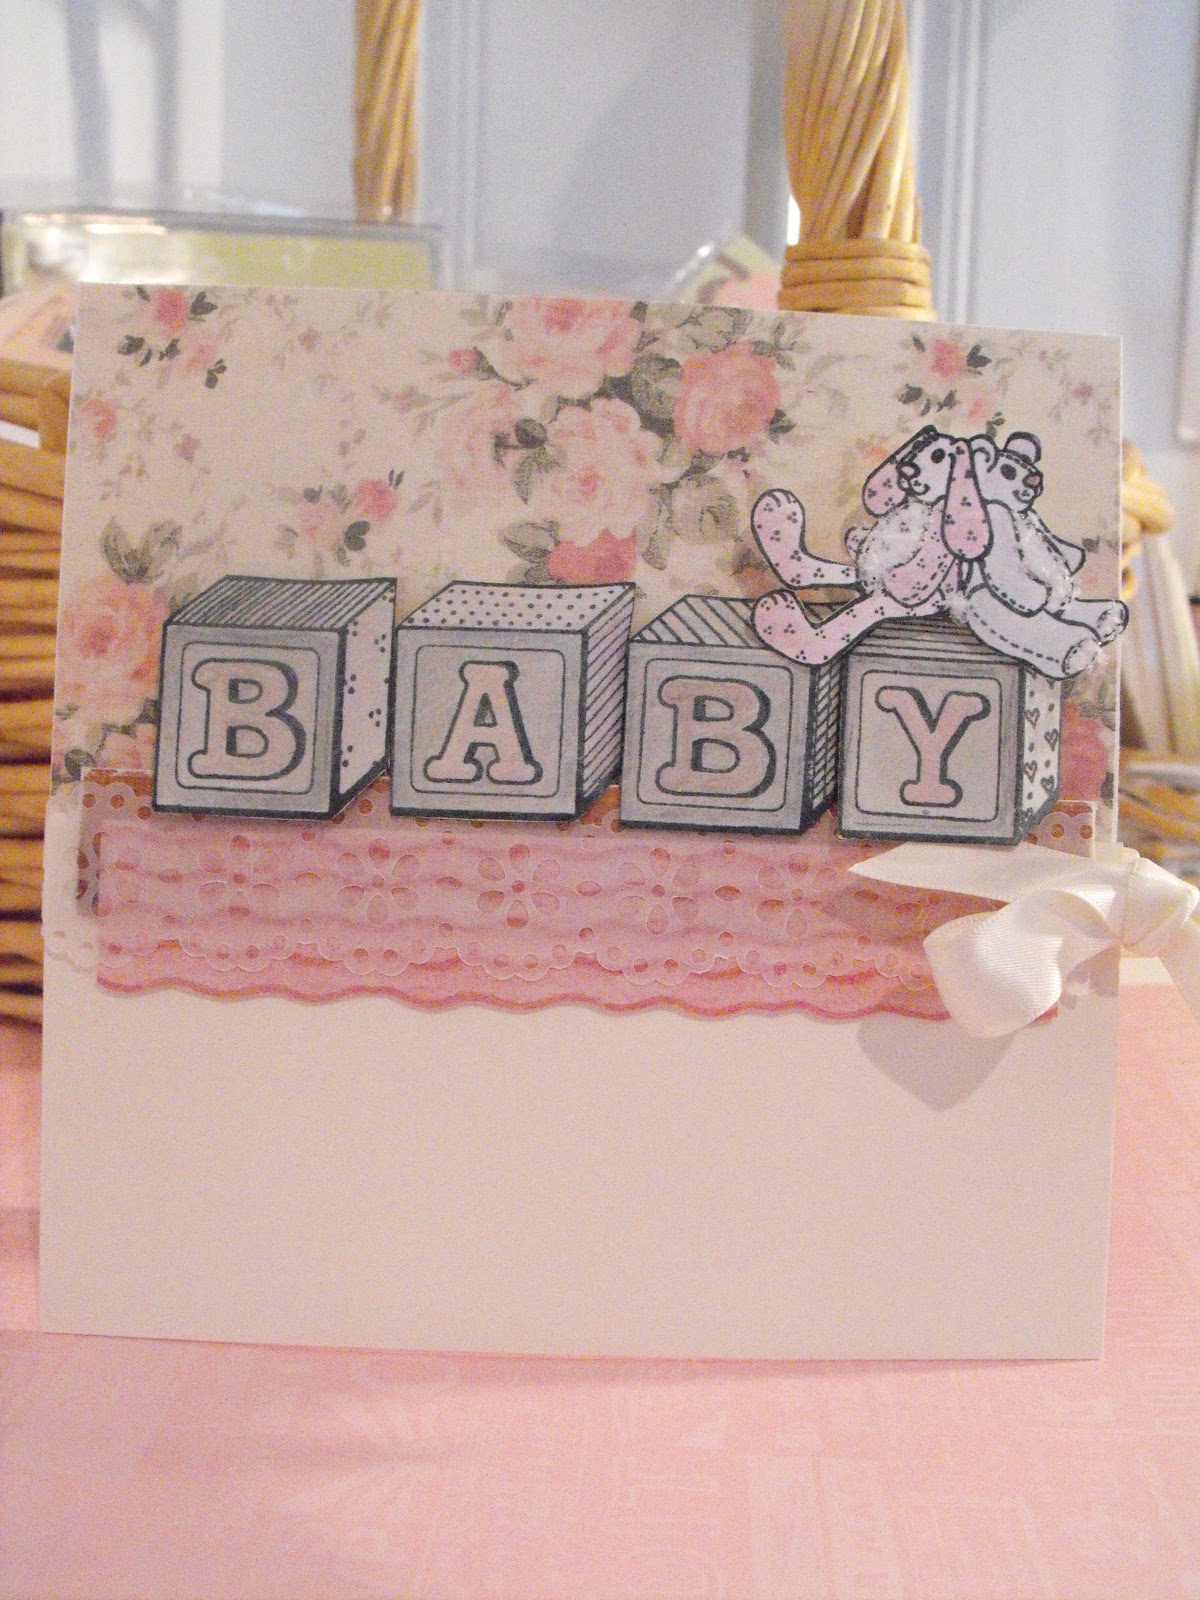
Happy Hump day to you! This is Jessica B. today with a card for Biblical Impressions. First let me say this whole card was WAY out of my comfort zone!!....I will give ya a look and then explain.

.


See..isn't this VERY different for me? LOL

I did enjoy the whole designing process of it though. I don't normally use patterned paper..because quite frankly it intimidates me! HA! However for this card I knew that to utilize the stamps the way I wanted..I was going to have to go out of MY box.

I started by stamping this sweet baby block stamp onto light grey card stock. Then I used a few various colored pencils to add a little life to them. I was going for a vintage look and also wasn't some dimension because this stamp really lends itself to that. I cut the "blocks" out and use the larger end of a stylus and embossed the letters and a few other places for dimension ( I used my mouse pad as a cushion for the embossing), and then sanded them with a thick black nail file to distress them)  Then I stamped the cute little stuffed animals on some scrap white card stock, colored with colored pencils , distressed with the file, then used some white Flower Soft to add some "fluffiness" to them.

Next I picked out some patterned paper that i felt resembled vintage wall paper..I LOVE this paper..it has been hoarded in my stash for ever.so it was time to cut it. Next I used some cream colored ribbon and cream colored  card stock for the bottom portion of the "wall"( I adhered the ribbon  underneath the cream paper).I also wanted to make a self-like scene ( there I go making "scene" again HAHA!)..so I found some brownish wood looking paper, cut a strip, then layered a piece of pink patterned paper that I cut the swirly boarder to follow the pattern in the paper. THEN, I used a punch to make that little doily looking strip that I cut out of vellum because I wanted it on the "shelf"

Now, after all of that :), I popped the blocks up on dimensionals, and added the stuffed animals with two dimensionals ( on top of each other).
Next I tied the bow and took the picture.

here is a close-up side-view of the "bocks "

Whew...it sounds like a lot and it really may be the way I explained all of it LOL ! I am not used to that many steps in a card..ya know, I usually just color!

Ok, that is it for me today!! I hope you are having a fantastic day today..and a wonderful rest of your week! Thanks for stopping by!

Tuesday, April 24, 2012

Small Lacy Butterfly

Hello stamping and crafty friends!
Kristie here today and
 I'm showing you a card that I made using
"Small Lacy Butterfly" (#58902)
I stamped the image onto a page of an old book and colored it with FlexMarkers (alcohol ink markers)
I punched several strips with a EK Success border punch
and inked them with brown ink.
I layered the scalloped strips onto a white card base for about 1/2 of the card, then covered the rest with another piece of a page.
I stamped the "Small Lacy Butterfly" onto the card.


After I fussy cut the colored image, I adhered it onto the card right over the stamped image on the card.
I lifted the wings up a bit to give it the look of flying off the card.
Eureka! Stamps has many wonderful butterfly images to choose from in red rubber and digital, so there is something for everyone.

Thanks for stopping by today,
leave a comment if you will and come back soon.

Monday, April 23, 2012

Recycling!

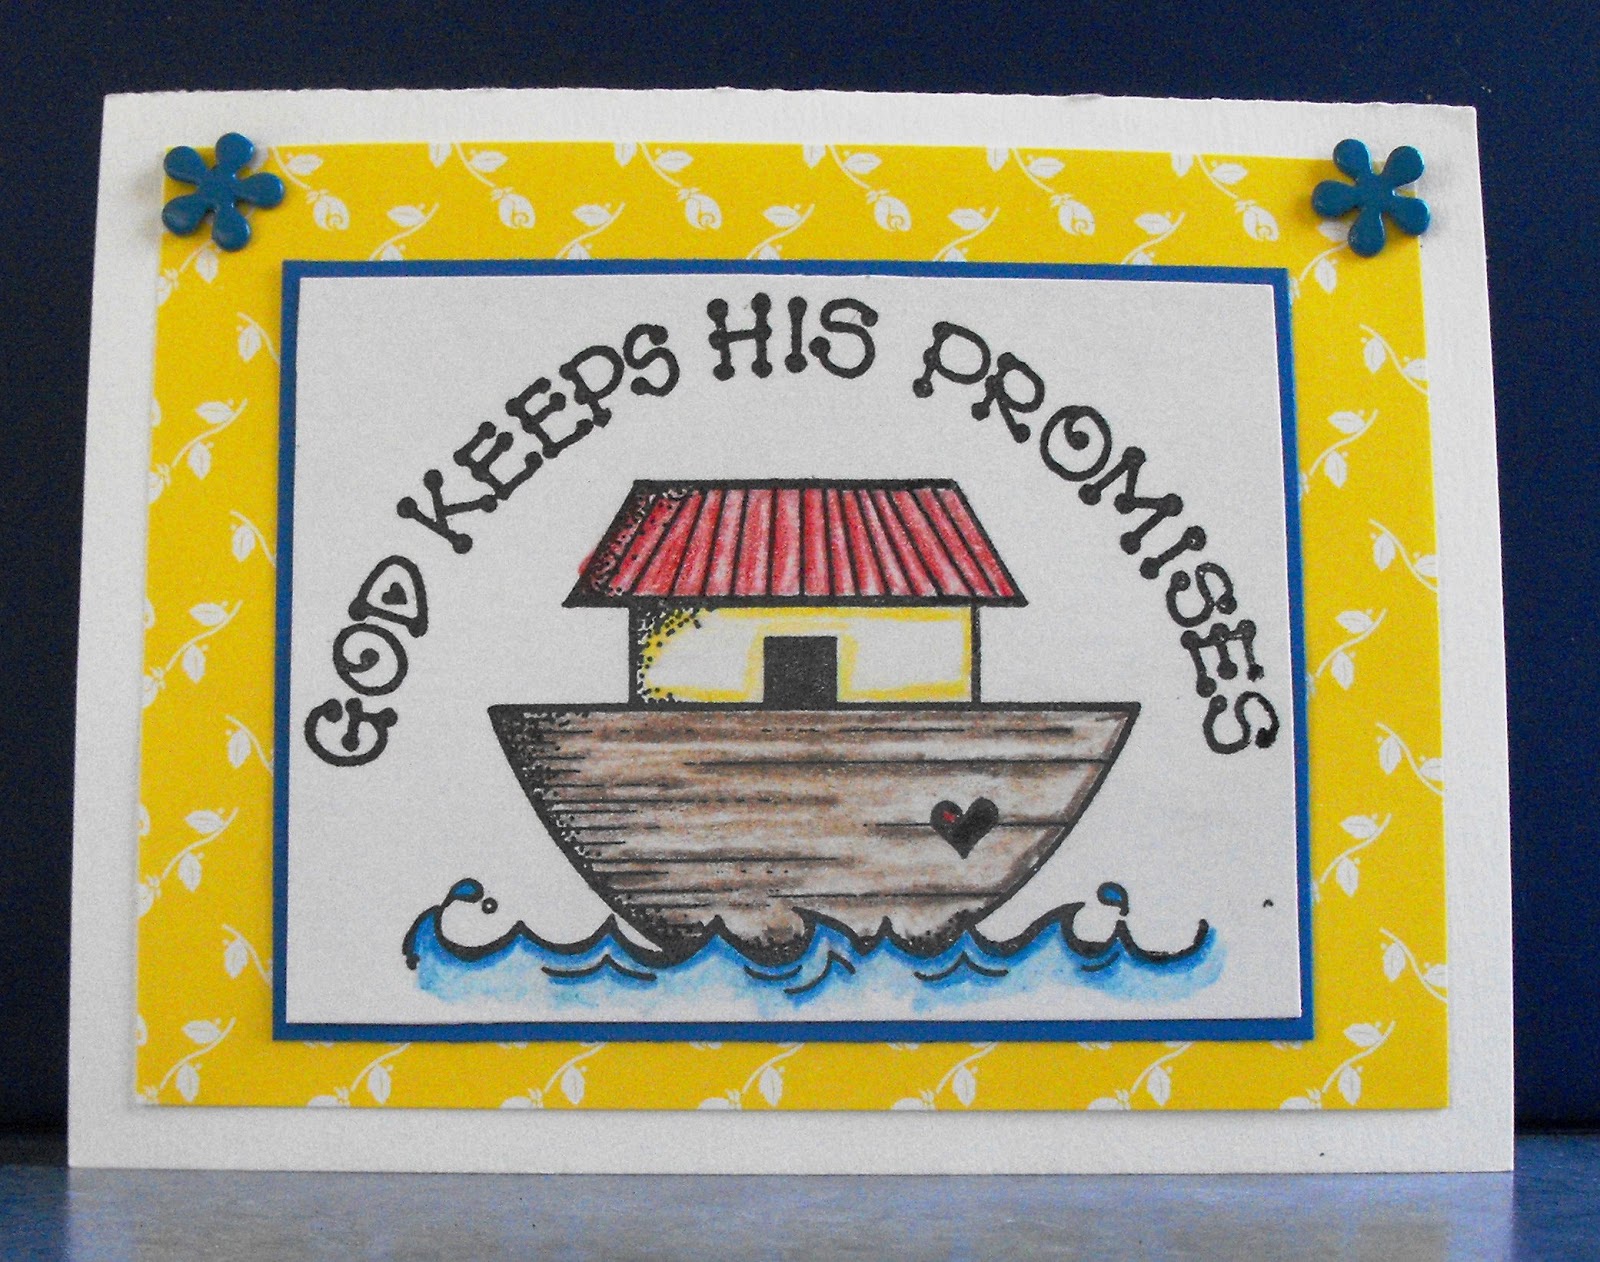
My seven year old niece, Kristen, has begun writing to me, and the first time I was able to find a card appropriate for a little one.  But the few kid/cute cards I have are primarily for birthday occasions; it's not my favorite kind of card to make.  I have been swamped, especially with my final papers/exams for college before my one week break (in just a few days, hurrah!), but I've put off responding for too long.  Today I had a short free spot of time, so I whipped through my stashes of card "parts" and came up with these. The card was clearly from my earliest days of cardmaking; I always back paper panels with another cardstock panel before attaching now. Additionally, I always, at least until I stopped making cards to sell, hid the prongs of my brads behind the panel, and the brads on this card were straight through it.  The God Keeps His Promises image had an ink smudge on it, so I had never used it, but didn't want to pitch it.  Perfect for a child!

So, I just switched brads, and made a quick panel to go behind the ark. Card in just a minute or two ... if only it could always be so quick!

I decided to post a card I made with the Spanish version of this image.  Did you know that Biblical Impressions carries Christian Spanish stamps? In fact, it was in searching for Christian Spanish stamps eight or ten years ago that I discovered Biblical Impressions!