I don't know how it is that I missed these cute and versatile images from
Biblical Impressions for so long, but once I saw them I knew they had wonderful potential for fun cards! There is a small puzzle-piece border stamp, and a trio stamp of slightly larger pieces; scroll about 2/3 down the
miscellaneous page to see/order the images.
For this first card, I used the cuttlebug puzzle template, making white, yellow, blue, pink, and white puzzle sets. Then I assembled the puzzle, and inked the stamp with versamark ink. Then I separated the pieces and used cotton swabs to gently apply colored chalks to the individual pieces. I had hoped to avoid smearing the chalk on the white puzzle pieces, but I couldn't manage to do so. Perhaps if I had used a brush instead of cotton swabs it would have worked out better. For the card, I embossed with white embossing powder.

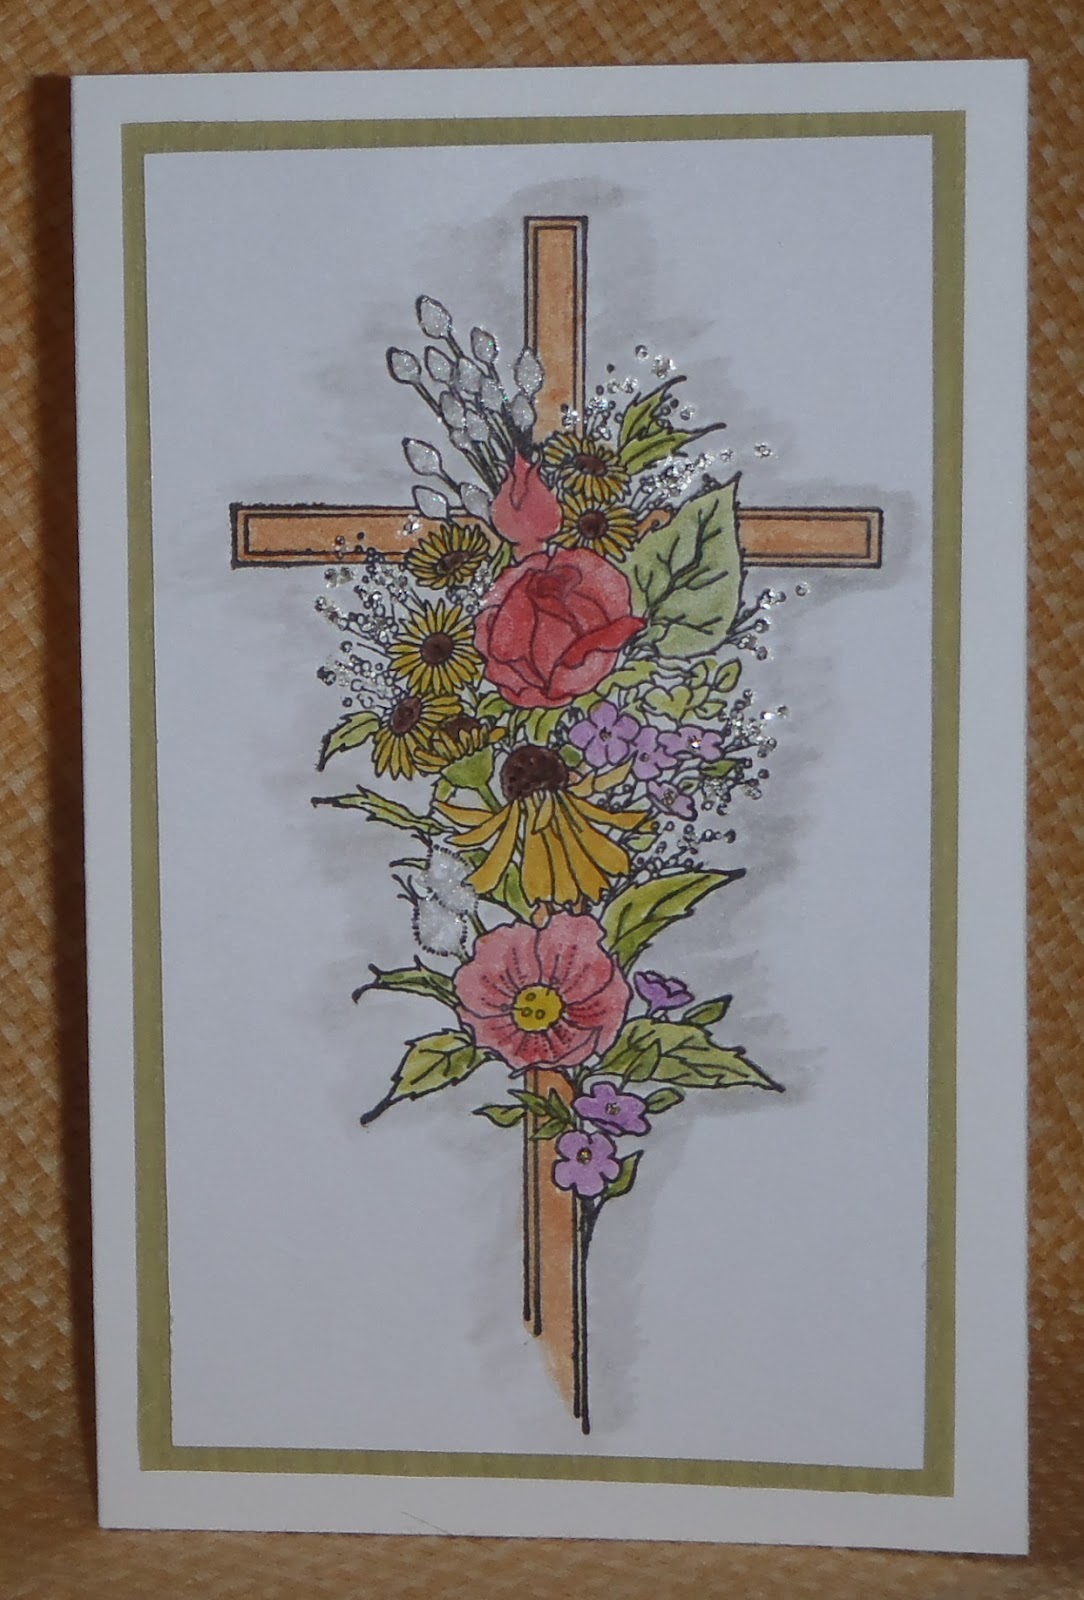
For the second card, I stamped the background with the
floral image with versamark. Then with black ink, stamped it several times, and colored each image slightly differently. Here's one I did not use, just to show you the original image. It's about 2.5" in length:

Then I stamped the larger puzzle pieces on top of the floral images, yielding about five pieces from each. After cutting out and attaching to panel, I stamped
thinking of you in the corner.

I also wanted to make a more "elegant" card with the smaller puzzle pieces, using H20's and gold embossing to create the effect. I envisioned placing them down the long side of a cream colored card... But although I really like how they look, well, it just seemed odd to have elegant puzzle pieces! So I went for a cute and glitzy birthday. However, I was really, really tired while coloring the
Happy Birthday image, and kept making mistakes. I was doing it on "borrowed time," so I couldn't take time to remake it. So, once again, just to give you an idea of how the pieces make a nice border, I threw the card together without gluing anything down and placed an acrylic mount over it to hold it in place. I do this all the time when laying out card possibilites.

Hope you have been inspired!


